

Saturday, January 7, 2012



Monday, December 26, 2011

New TV Stand
(This post is old - like from Thanksgiving 2010. For some reason I never posted it)
I am thanking my lucky stars tonight because... I HAVE A NEW TV STAND!!! You would completely understand my GLEE if you knew my old TV stand. Now, technically speaking there wasn't anything wrong with the old stand, but it definitely didn't go with the decor of our house. See for yourself:

For months I looked for the perfect piece of furniture to set my Husbands precious TV on and I was just not finding anything I loved. Then one night while blogging I came upon this very inspiring photo posted on one of my favorite blogs Sixth-Fifth Avenue:

What a great idea! Using a long buffet as a TV stand creates tons of storage space for all of my movies and it looks great as well. And so my Craig's List search began. Eventually, I came across this little beauty:


She was perfect! So, I dragged poor Tommy, and eventually one of his work buddies out on a Friday night to haul her into the back of my car. She ended up having to sleep outside that night, because our neighbors weren't home to help Tommy haul her into the house. Once they got her inside I took some more shots:


Here she is with half of the hardware on:


In case, you were wondering what happened to our old nasty TV stand I give you exhibit A:


I am thanking my lucky stars tonight because... I HAVE A NEW TV STAND!!! You would completely understand my GLEE if you knew my old TV stand. Now, technically speaking there wasn't anything wrong with the old stand, but it definitely didn't go with the decor of our house. See for yourself:

Yuck!
What a great idea! Using a long buffet as a TV stand creates tons of storage space for all of my movies and it looks great as well. And so my Craig's List search began. Eventually, I came across this little beauty:


She was perfect! So, I dragged poor Tommy, and eventually one of his work buddies out on a Friday night to haul her into the back of my car. She ended up having to sleep outside that night, because our neighbors weren't home to help Tommy haul her into the house. Once they got her inside I took some more shots:


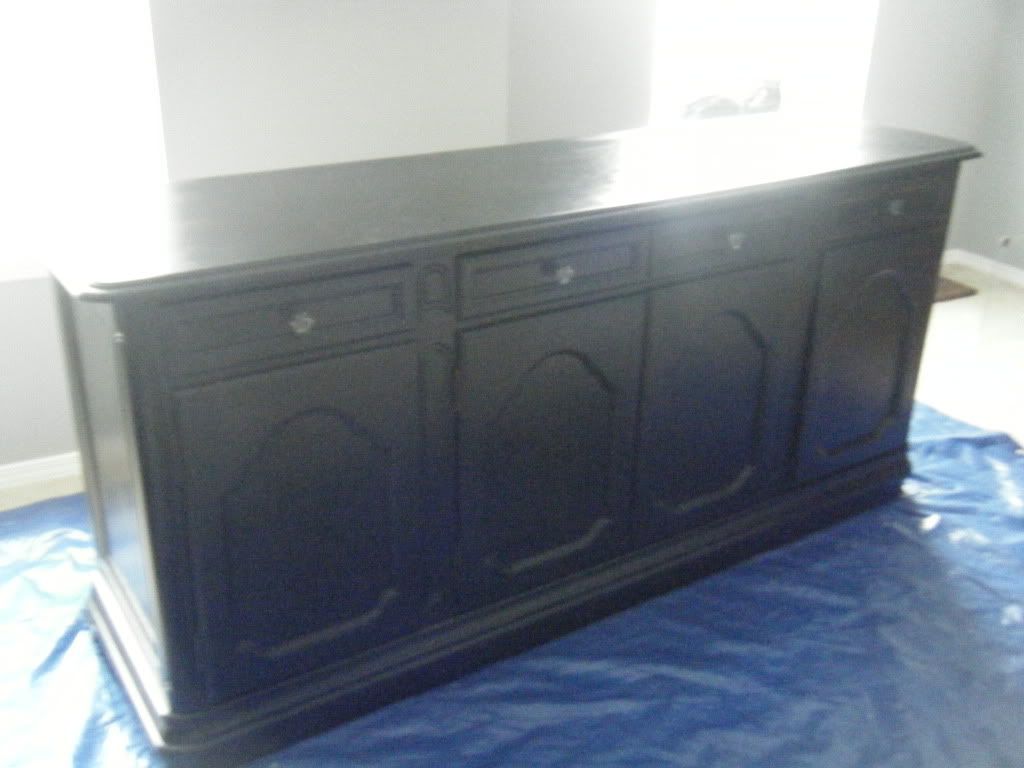
So, my Thanksgiving week was spent priming and painting. First stop, Home Depot! I ended up being there FOREVER trying to find all of the perfect products. I am a very indecisive person, especially when I haven't a clue what I'm doing. So, I ended up talking to the man in front of me at the paint counter. He told me to use an oil based primer tinted gray. I was scared, but I decided to give it a try because, as I said before I am clueless when it comes to paint. I ended up buying Cover Stain Primer. After sanding like crazy and taping all of the inside corners I began the priming. The Cover Stain covered like a dream and I managed to ventilate the room well enough to keep most of my brain cells.


Painting was another story. I choose a random shade of black from the displays at Home Depot and I decided to use Behr Paint and Primer in one (gloss). I was trying to skip the polyurethane step. I think that was my mistake. The finish is not what I would like it to be, but it is good enough for now. Here are some painting pictures:


Here she is with half of the hardware on:

In case, you were wondering what happened to our old nasty TV stand I give you exhibit A:


Sunday, December 19, 2010
Best Pumpkin Cheesecake EVER!!!
I love pumpkin pie and I love cheesecake, so what could be better than putting them both together? I was so excited when I found this recipe for pumpkin cheesecake. It is truly delicious. In fact, it is so wonderful that my husband (who won't eat pumpkin pie) is thoroughly enjoying this pie.
Here is the recipe:
Crust:
2 cups of finely crushed pecan shortbread cookies (Pecan Sandies)
1 tablespoon of all-purpose flour
3 tablespoons of melted butter
Filling:
12 ounces of softened cream cheese
1 cup of sugar
1 can (15 ounces) solid-pack pumpkin
3 tablespoons of all-purpose flour
1 tablespoon of milk (I use soy milk)
1 teaspoon of ground cinnamon
1/4 teaspoon each of ground ginger, nutmeg, and cloves
3 eggs, lightly beaten

Here we go...
First you have to make the pie crust. I, sadly, purchased my pie crust this time because I was making three pies and I wanted to speed up the process. Thank you pies of course for our neighbors and my husbands friend who worked so hard on our new floor. Here is what you need to do to make the actual pie crusts. In a bowl, mix butter, flour, and cookie crumbs. Push the mixture into a pie plate. Bake at 350 degrees for 8 - 11 minutes or until lightly browned. Cool on a wire rack.
For the filling, let's start with an amazing mixer!

Next, you will need to add the cream cheese and sugar and beat until smooth.

Now, beat in the pumpkin, flour, milk, and spices. Next, you need to add the eggs and beat on low speed until just combined and then pour into the crust.


Now, bake at 350 degrees for about 45 minutes or until the center of the pie looks almost set.

When the pie is finished cooking cool on a wire rack for about 1 hour and then place in the refidgerater for 4 hours.

Here is the recipe:
Crust:
2 cups of finely crushed pecan shortbread cookies (Pecan Sandies)
1 tablespoon of all-purpose flour
3 tablespoons of melted butter
Filling:
12 ounces of softened cream cheese
1 cup of sugar
1 can (15 ounces) solid-pack pumpkin
3 tablespoons of all-purpose flour
1 tablespoon of milk (I use soy milk)
1 teaspoon of ground cinnamon
1/4 teaspoon each of ground ginger, nutmeg, and cloves
3 eggs, lightly beaten

Here we go...
First you have to make the pie crust. I, sadly, purchased my pie crust this time because I was making three pies and I wanted to speed up the process. Thank you pies of course for our neighbors and my husbands friend who worked so hard on our new floor. Here is what you need to do to make the actual pie crusts. In a bowl, mix butter, flour, and cookie crumbs. Push the mixture into a pie plate. Bake at 350 degrees for 8 - 11 minutes or until lightly browned. Cool on a wire rack.
For the filling, let's start with an amazing mixer!

Next, you will need to add the cream cheese and sugar and beat until smooth.

Now, beat in the pumpkin, flour, milk, and spices. Next, you need to add the eggs and beat on low speed until just combined and then pour into the crust.


Now, bake at 350 degrees for about 45 minutes or until the center of the pie looks almost set.

When the pie is finished cooking cool on a wire rack for about 1 hour and then place in the refidgerater for 4 hours.

Then enjoy!
Saturday, December 18, 2010
Oh Christmas Tree! Oh Christmas Tree!
Wow, do I ever feel behind on posts! Things have been so crazy busy lately I feel like I am just now able to stop and take a breath. There have been quite a few changes around this happy home and I can't wait to get them to you! Lets start with our new Christmas Tree!!!
We decided this year we were going to get a regular size tree, sadly the one I used in college just wasn't cutting it anymore. So, we set out for Lowes and purchased a beautiful full sized blue/green tree. I love it! I also decided to work a little diy into this years tree. I have been noticing tons of projects using book pages lately and I thought of the perfect way to incorporate it onto our tree.
Take a look:

Here is my mini tutorial on how to create the book page tree garland:


Once the chain was all put together I was so happy!!! I had almost given up at least twice. It is a very long chain! Here are a couple more picture taken by my photographer husband. :)


We decided this year we were going to get a regular size tree, sadly the one I used in college just wasn't cutting it anymore. So, we set out for Lowes and purchased a beautiful full sized blue/green tree. I love it! I also decided to work a little diy into this years tree. I have been noticing tons of projects using book pages lately and I thought of the perfect way to incorporate it onto our tree.
Take a look:

Here is my mini tutorial on how to create the book page tree garland:


Once the chain was all put together I was so happy!!! I had almost given up at least twice. It is a very long chain! Here are a couple more picture taken by my photographer husband. :)


I hope you are having a wonderful holiday season!
Be Back Soon!
Linked to: The Lettered Cottage Favorite Tutorials
P.S. Please check out the awesome link party at Cottage and Vine
P.S. Please check out the awesome link party at Cottage and Vine
Subscribe to:
Posts (Atom)