
Showing posts with label Decorating. Show all posts

Monday, December 26, 2011

New TV Stand

(This post is old - like from Thanksgiving 2010. For some reason I never posted it)

I am thanking my lucky stars tonight because... I HAVE A NEW TV STAND!!! You would completely understand my GLEE if you knew my old TV stand. Now, technically speaking there wasn't anything wrong with the old stand, but it definitely didn't go with the decor of our house. See for yourself:

Yuck!

For months I looked for the perfect piece of furniture to set my Husbands precious TV on and I was just not finding anything I loved. Then one night while blogging I came upon this very inspiring photo posted on one of my favorite blogs Sixth-Fifth Avenue:


What a great idea! Using a long buffet as a TV stand creates tons of storage space for all of my movies and it looks great as well. And so my Craig's List search began. Eventually, I came across this little beauty:


She was perfect! So, I dragged poor Tommy, and eventually one of his work buddies out on a Friday night to haul her into the back of my car. She ended up having to sleep outside that night, because our neighbors weren't home to help Tommy haul her into the house. Once they got her inside I took some more shots:


So, my Thanksgiving week was spent priming and painting. First stop, Home Depot! I ended up being there FOREVER trying to find all of the perfect products. I am a very indecisive person, especially when I haven't a clue what I'm doing. So, I ended up talking to the man in front of me at the paint counter. He told me to use an oil based primer tinted gray. I was scared, but I decided to give it a try because, as I said before I am clueless when it comes to paint. I ended up buying Cover Stain Primer. After sanding like crazy and taping all of the inside corners I began the priming. The Cover Stain covered like a dream and I managed to ventilate the room well enough to keep most of my brain cells. 


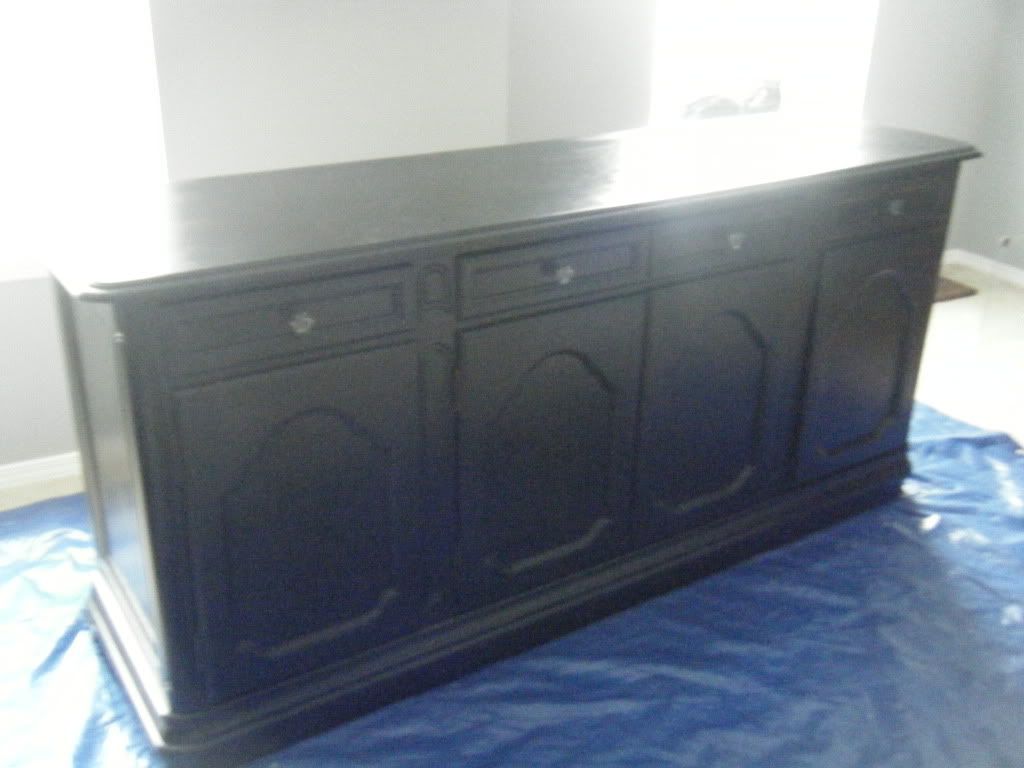
 Painting was another story. I choose a random shade of black from the displays at Home Depot and I decided to use Behr Paint and Primer in one (gloss). I was trying to skip the polyurethane step. I think that was my mistake. The finish is not what I would like it to be, but it is good enough for now. Here are some painting pictures:


Here she is with half of the hardware on:


In case, you were wondering what happened to our old nasty TV stand I give you exhibit A:


Sunday, November 14, 2010

Finished Buffet!!!

Wow, it has been a few weeks, but the buffet is now finished! It was definitely a ton of work and slightly overwhelming, because it was that first time I have ever attempted painting furniture. It was totally worth it in the end. I love the buffet!!! It turned out exactly how we wanted it to look, and it adds tons of storage to our kitchen area.

First, lets begin with the knobs. After scouring the town (twice lol) we landed on some black metal knobs from Home Depot. They were exactly what I wanted, or so I thought, but after getting them home and thinking things over, I realized I had my heart set on crystal knobs. They are just more me. :) So, we ended up making an emergency stop at Target (don't you just LOVE those) where I had previously seen these gems below:


These knobs are four for $14.99 and I LOVE THEM. Now for the before and after pictures of the finished buffet!

Before:
Here she is in all her dirty glory:


After:
Here she is now:


Our wonderful neighbors came over yesterday to help Tommy move our new TV stand inside (more on this in my next post) and they couldn't even believe it was the same piece of furniture. They were amazed! Our neighbors, of course, helped Tommy move this buffet inside as-well.

The Process:
I was incredibly blessed to have my amazing Mom here to help us paint this buffet, otherwise we would have both been lost, (and crazy). We started by going to Home Depot and getting our 120 sandpaper, oil based primer, tarp, foam mini rollers, and Martha Stewart Living Paint in Glass of Milk. I think now I would have gotten a rougher sandpaper because the finish was so glossy we really had to work hard to get it sanded down. I also think I need to invest in a mini paint brush instead of using those disposable foam tip things. They don't hold up real well. We started by giving her a good wipe down followed by sanding her down so that the surface felt rough. Then another wipe down. The next morning, we started the painting process with one coat of primer:


Once she was completely primed and dry we started the painting process: We ended up doing one coat of a high gloss paint and no polyurethane, which I don't know if I will do again. The gloss made the paint very temperamental and difficult to perfect with a brush, and I am definitely a perfectionist!


We found that setting the door fronts on top of paint cans made the perfect painting holders. I am super happy with the outcome and I can't wait to tackle more furniture re-dos! Here are a couple more after pictures. Check out our cookbooks and cooking magazines new home!


Isn't she gorgeous!!!

Sharing with Southern Hospitality: